
Hello friends and welcome to today's blog post.
The project I'm sharing with you all today is a cover for a small box of tissues, and I simply could not go past using the absolutely beautiful DSP from the Sweet Soiree Suite of products in our Occasions Catalogue.
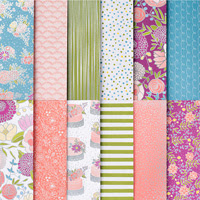 Sweet Soiree Specialty Designer Series Paper
Stampin' Up! have truly outdone themselves with this years catalogue, it really has something for everyone, including an amazing suite for the men in our lives. So, if you don't have a copy of the catalogue and would love to have a browse through one, just send me an email with your request and I'll pop one in the post for you.
Now, onto the project!
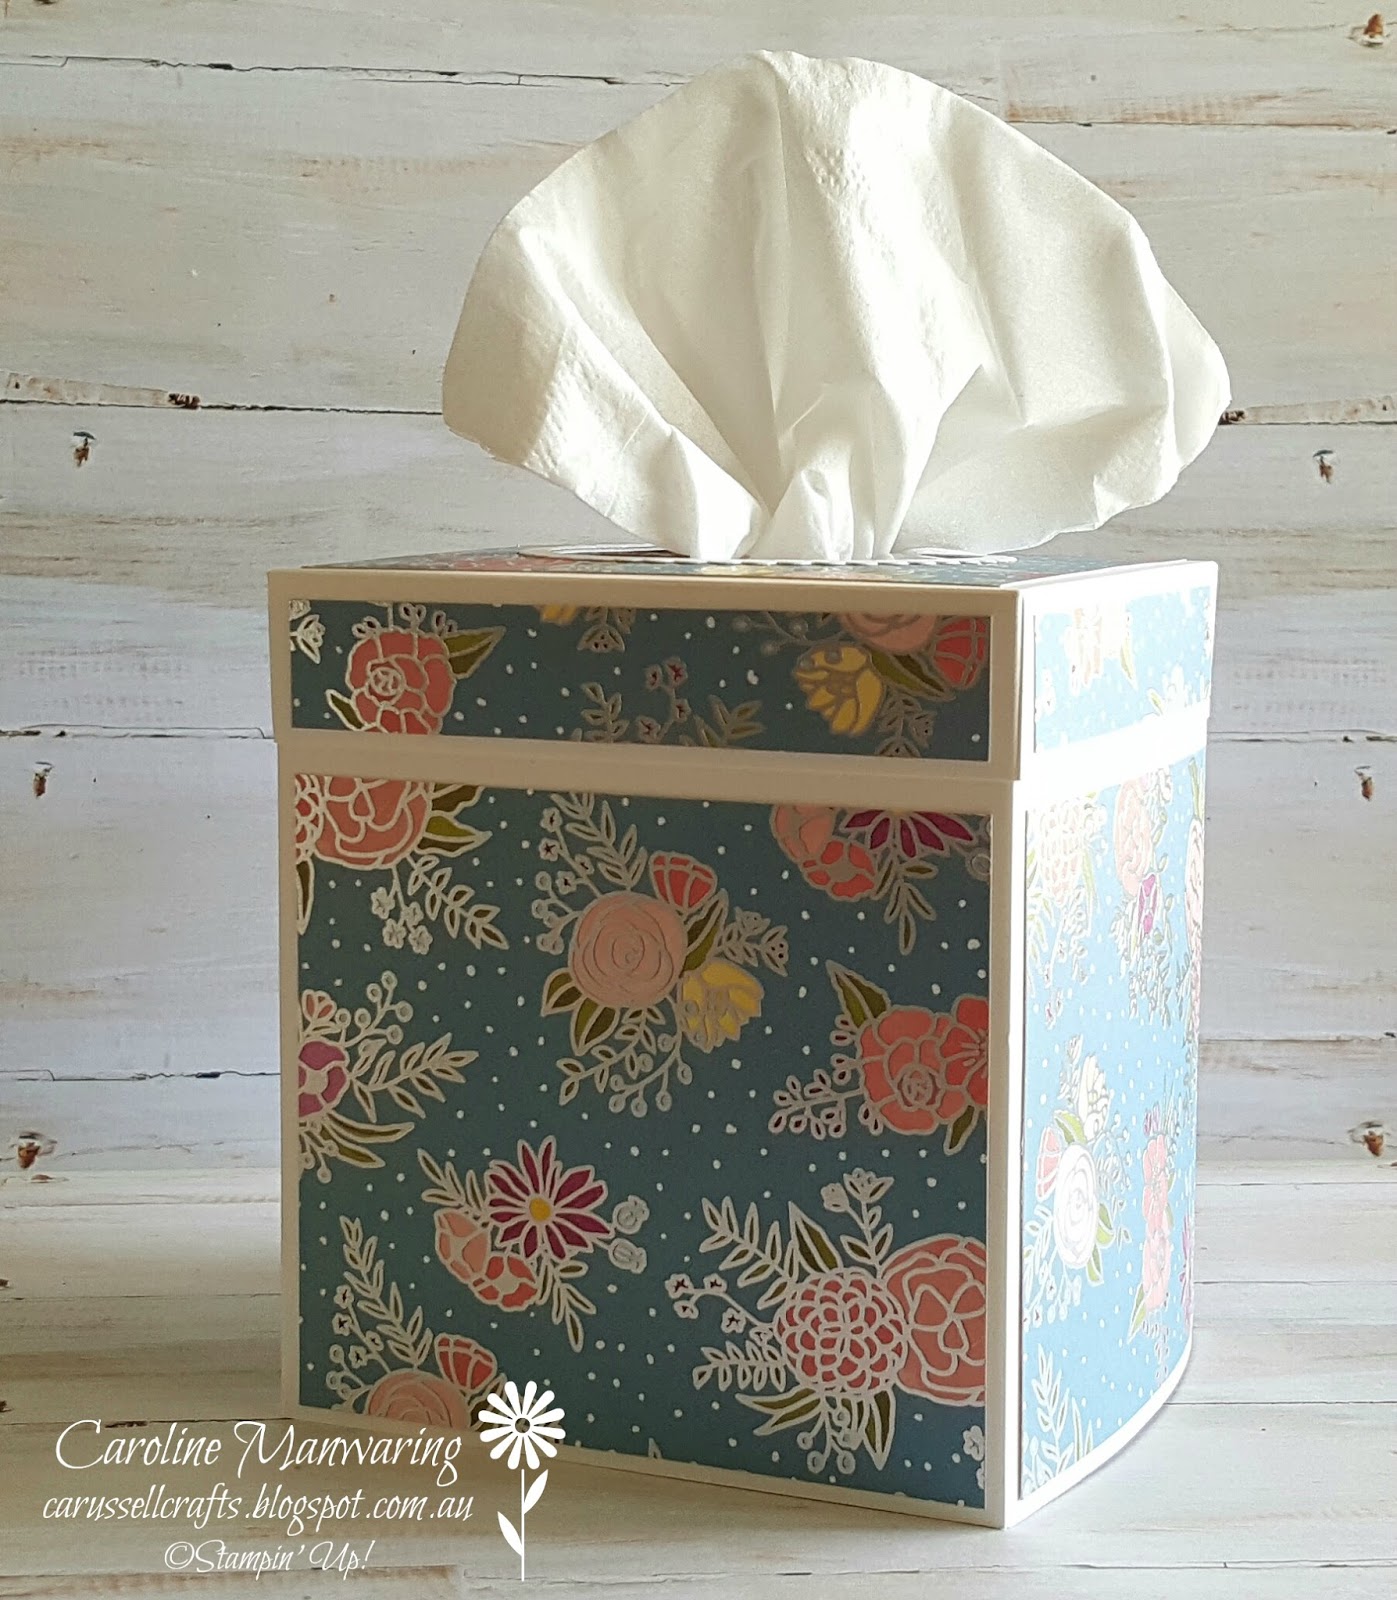
I found the design for this cover on Pinterest, however I can't give credit to anyone in particular as there were just so many pins all with the same idea.
Isn't this pattern on the DSP gorgeous?! I think it's my favourite, but they're all so gorgeous it's hard to pick just one!

Here is a photo without the tissues to show the pretty scalloped circle frame around the opening.
It was made with our Layering Circle Framelits, using both a scalloped and regular circle. The basic box cover is made with our thick Whisper White cardstock.

Another cover made with a different pattern from the Sweet Soiree DSP and here I have added a white daisy using our Daisy Punch. I also punched a small circle from Old Olive cardstock for the centre of the flower and added a clear Faceted Gem, then just a touch of Wink of Stella to the flower tips.
This was my February class project and we made a matching card with the cut-out circle from the box. I'll share a photo of the card in another post. This is a nice, practical little gift and the ladies that attended class really enjoyed making their cover and matching card.
Thanks for stopping by today, I hope you may have gotten some inspiration from the project.
Now there's no excuse not to pretty up a boring box of tissues, so go and make a cover today!
Here are my measurements:-
Here are my measurements:-
- Base: 2 pieces of cardstock that measure 5" x 9 1/4" and score @ 1/2" & 4 3/4" on both pieces along the 9 1/4" side.
- Lid: 1 piece of cardstock that measures 6 5/16" x 6 9/16" and score @ 1" on all four sides.
- DSP: For the base you will need - 2 pieces 3 3/4" x 4 1/4" & 2 pieces 3 3/4" x 4".
- DSP: For the lid you will need - 1 piece that measures 4 1/4" x 4" (this is for the top), 2 pieces that measure 3/4" x 4 1/4" (side) and 2 pieces that measure 3/4" x 4" (side).
*Glue the DSP to the top of your lid before running it through the Big Shot. Also you will need to fold under one of the flaps on the shorter side of the lid to fit it through the Big Shot. It will leave a slight impression from the circle framelit, but it will be on the underside when the lid is glued together and it won't be noticeable.
I have a list of all the products I used for this project below.
I have a list of all the products I used for this project below.
Until next time.....
Stay happy & stay crafty! 😘

Product List


No comments:
Post a Comment
In line with new Data Protection Legislation (GDPR), by commenting you do so in the knowledge that your name & comment are visible to all who visit this blog and thereby consent to the use of that personal information for that specific purpose.
Thank you for taking the time to comment, I really appreciate it.